- Home
- Factory Tour
Factory Tour
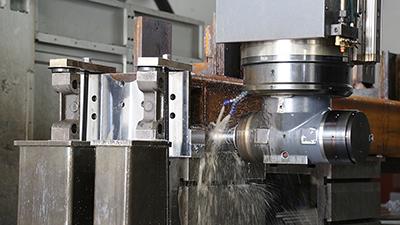
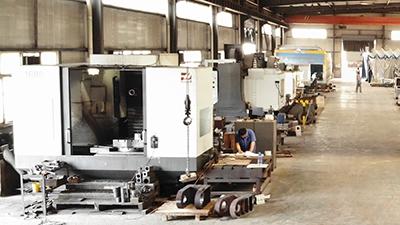
With 2 large-scale manufacturing facilities in China and India with a total floor area of 13000 m2 and multi subsidiaries and offices, PEF possesses large-scale gantry planers, HAAS (U.S.) machine tools, AWEA (Taiwan) 5-face milling centers, etc. The AWEA 5-face milling center is an imported professional large-scale processing device that is applied for processing parts including guide rails, gear rack generating mounting surfaces, dowel holes, etc. The processing accuracy is up to 0.02mm, to ensure the levelness of the worktable.
A CNC machining center with high accuracy features not only processing accuracy but also strict requirements for material and processing procedures. We apply automatic CNC machine tools, with concentrated procedures for manufacturing, to promote processing accuracy.
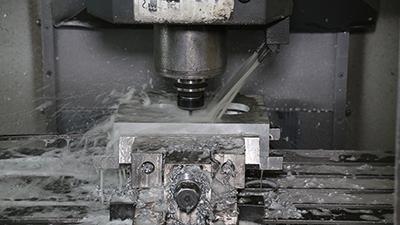
We apply HAAS (U.S.) machining center for heavy-duty component planing, milling, grinding, etc.
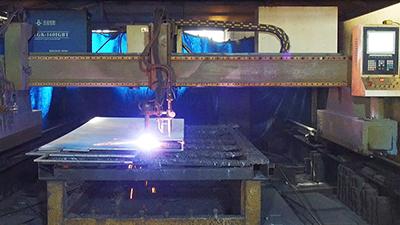
We apply large-scale NC plasma cutting device for machine frame processing, strictly we apply full welding procedure, to avoid rigidity issues with spot welding.
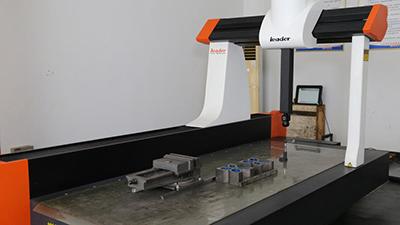
It takes quality to win the trust of customers. In order to ensure the high quality of our products, we take strict checking procedures before products can leave our factory. For inspection procedures, we apply machining and measuring devices including a Leader Metrology (U.S.) CMM, Renishaw laser interferometer measurement system, verticality measuring device, hardness tester, box parallels of different sizes, etc. We perform hi-pot tests, ground resistance measurement, insulation resistance measurement and noise measurement for every CNC device we produce before leaving the factory to ensure the quality and accuracy of our products.
We apply Leader Metrology (U.S.) CMM to measure the geometric tolerance of the parts of machining centers produced, to ensure working accuracy.
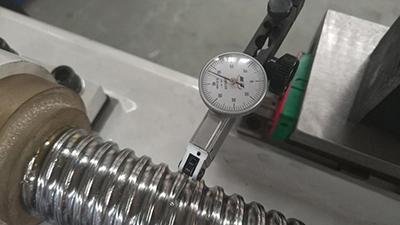
We apply a dial gauge for machine size, shape and positional error measurement.
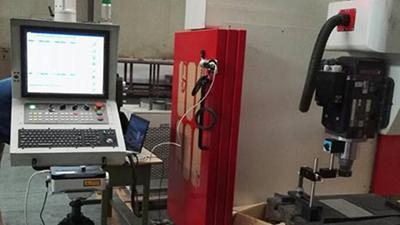
Surface evenness of a device deeply influences its working accuracy, to ensure its accuracy, we apply laser interferometer for machine positioning, speed, angle, flatness, parallelism, and verticality measurement. Our measuring system is equipped for linear error compensation, and avoiding errors made by manual calculation and inputs, in order to promote machine tool to its maximum accuracy.
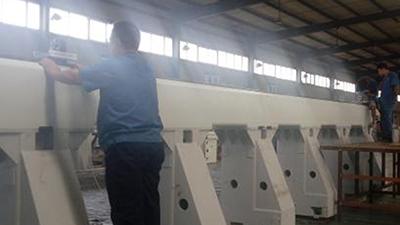
Apply to measure glancing flatness of guide rails, to check if the rails are bent.

